
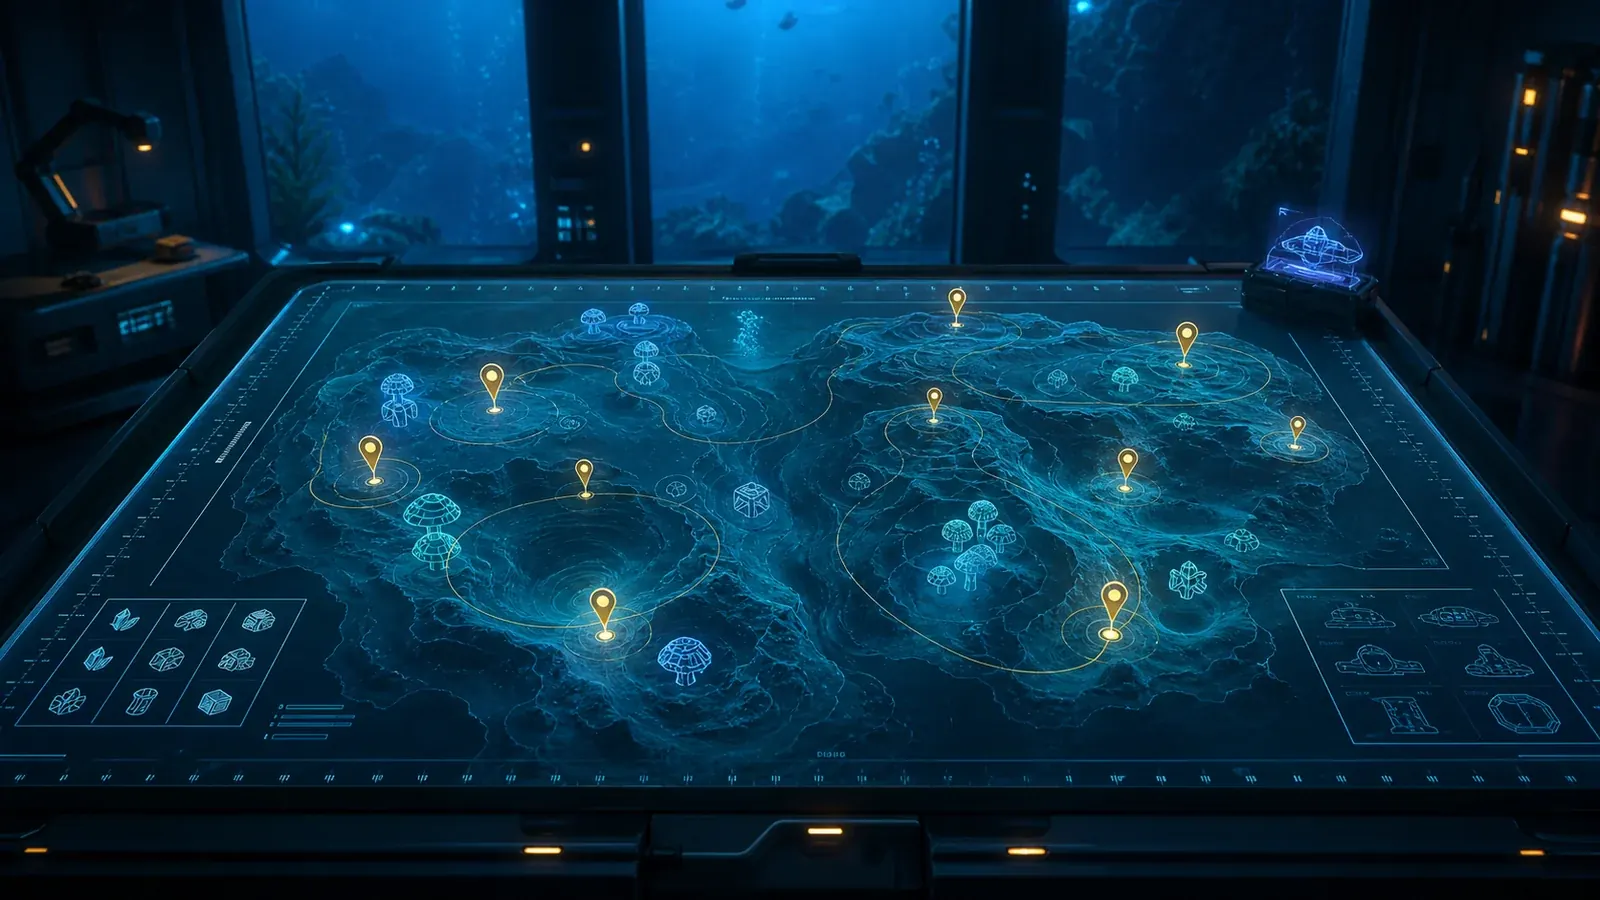
Habitat Builder blueprint map
Current Habitat Builder blueprint markers are shown as scouting points. Use the full map to pick a nearby marker, then verify reachability and hazards in your save.
The Habitat Builder is the tool that turns a short resource run into a working base. Before swimming toward random wreckage, open the Habitat Builder map layer and choose a marker you can reach with your current oxygen, scanner, and return path.
Start with the blueprint layer
The current map layer has 14 Habitat Builder blueprint markers. Treat them as scan leads, not as a guaranteed safest route:
- Open the Habitat Builder blueprint filter on the map.
- Choose a marker close enough to reach and return from with your current tank.
- Bring the Scanner and enough food, water, and emergency oxygen margin for a failed first pass.
- Scan Habitat Builder fragments until the blueprint unlocks.
- Leave the area if the marker sits in a cave, deep drop, predator path, or route you cannot confidently reverse.
Do not treat any marker as the fastest Lifepod route yet. Pick the closest safe target in your save, and back out if the path asks for more oxygen, depth, or hazard control than you have.
Gather the craft before you go home
Once the blueprint is unlocked, the current recipe data lists the Habitat Builder at the Fabrication Station with these materials:
| Material | Local cost | Practical note |
|---|---|---|
| Titanium | 2 | Keep a small buffer for the first room, hatch, or power pieces. |
| Glass | 1 | The early Fabrication Station path uses 2 Quartz for Glass. |
| Basic Battery | 1 | Current recipe data uses 2 Copper and 1 Acidic Raion Pouch. |
| Copper Wire | 1 | Current recipe data uses 2 Copper. |
For the first build, plan around Copper and Quartz pressure. The Habitat Builder itself needs a Basic Battery and Copper Wire, then the first useful base pieces will usually ask for more Titanium, Quartz, Copper, and power materials.
Build only the first useful base
After crafting the Habitat Builder, place a simple base before expanding:
- a room or starter compartment;
- a hatch or entry point;
- a power source that fits your current materials;
- storage or a Fabrication Station only if you already have the extra Copper and Titanium;
- enough clearance if you are planning toward Moonpool, Tadpole Dock, or Vehicle Fabricator pieces later.
Do not spend the whole first haul on decorations. A small powered base with storage is more useful than a large shell that cannot support the next dive.
Quick checklist
- Open the Habitat Builder blueprint map layer.
- Pick a scan marker you can safely reach and return from.
- Bring a Scanner and leave extra oxygen margin.
- Scan until the Habitat Builder blueprint unlocks.
- Collect 2 Titanium, 2 Quartz for Glass, 4 Copper for Basic Battery plus Copper Wire, and 1 Acidic Raion Pouch.
- Craft Glass, Basic Battery, Copper Wire, then Habitat Builder at the Fabrication Station.
- Build a small powered base before expanding toward Moonpool or Tadpole support.
Sources and current limits
Map and recipe guidance comes from the current item, blueprint, and marker data available to this site. Before relying on it as a final route, recheck the scan count, recipe costs, marker reachability, hazards, and first-base setup in your current build.