Quick answer
- Start at the Lifepod with a Scanner. The video route gets the first fragment by swimming south, stopping around 107 meters from the Lifepod, then following wreckage straight down.
- The second fragment is near another cliff-side wreckage point around 200 meters from the Lifepod. The third is below a glowing giant clam, with an easier northwest backup fragment if that deeper dive is too risky.
- After the fragments, scan the Room and Processor at the old habitat, build the Moonpool, Tadpole Dock, and Vehicle Fabricator, then craft the Tadpole.
Tadpole fragment scan map
Current exported map data includes 14 Tadpole blueprint markers from DA_Tadpole_Fragment_ScanData. Use the map to compare possible scan points, then follow the step-by-step route below for the three community-video fragments.
The Tadpole is the first vehicle most Subnautica 2 players will care about because it turns short oxygen-limited swims into longer, safer routes. This guide is meant to be followed while watching or replaying the route, so it starts with the actual fragment path instead of the crafting list.
The route is based on Rifle Gaming’s video and should still be treated as a community lead. The map markers come from exported game data, while the route directions come from community footage. If a landmark has shifted in a later patch, use the exported marker set and nearby wreck/clam landmarks together instead of relying on one source alone.
Before you leave
Bring a Scanner. The video deliberately shows the fragments with minimal gear, but the route is more comfortable with a larger oxygen tank, Wakemaker, or any extra mobility.
Do the fragment run during the day if you can. The third fragment is deep enough that oxygen drains faster, and the video route includes a death-risk warning. Keep your inventory light before the first attempt so a failed dive does not cost much.
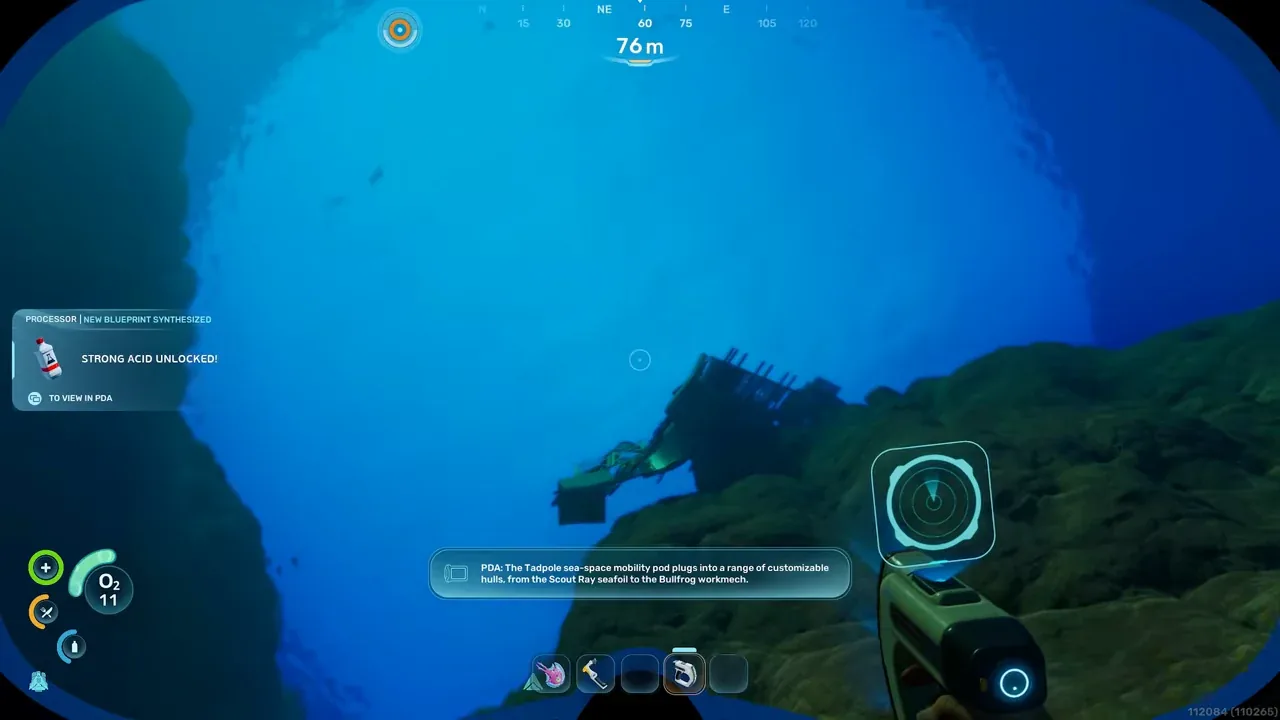
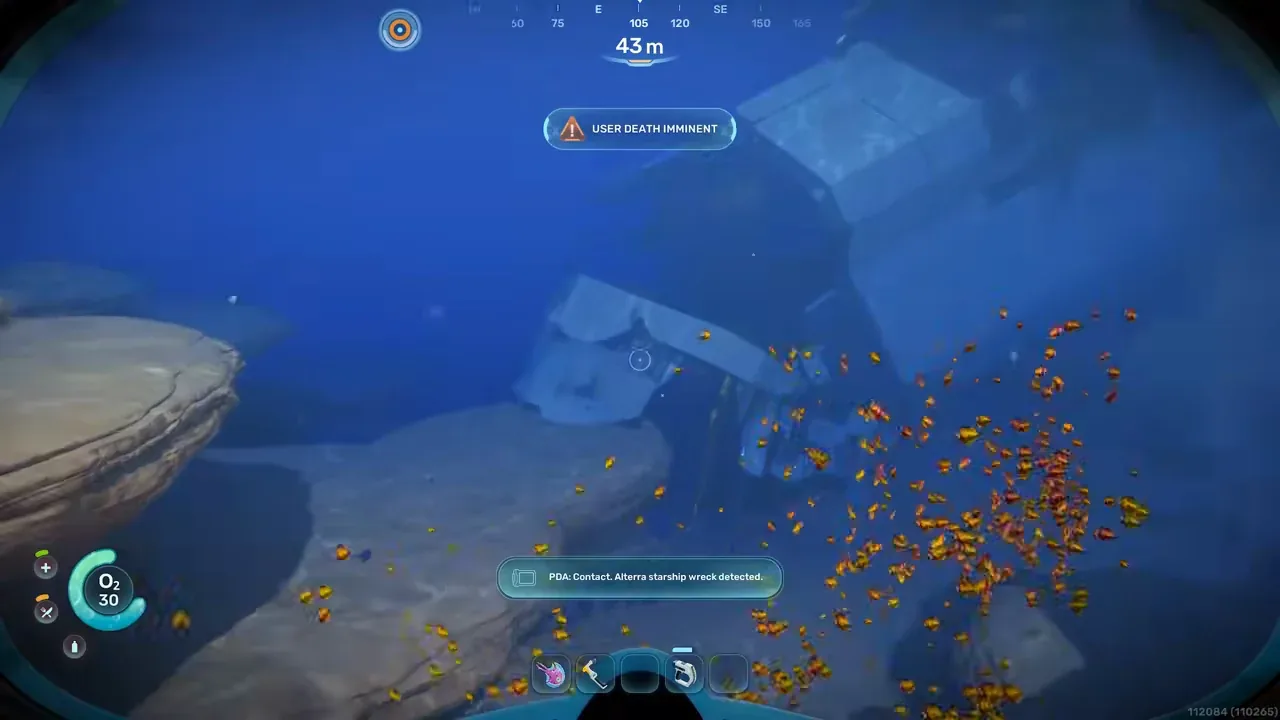
Fragment 1: south from the Lifepod, then down the wreckage
From the Lifepod, swim roughly south. The video first says to move about 145 meters in the route direction, then stops at the actual dive point when the Lifepod marker is about 107 meters away.
At that point, look for wreckage leading downward. Follow the wreckage straight down. The fragment is below it, and the goal is to scan quickly rather than explore the whole area.
For the first fragment, use the wreckage as your vertical guide and scan before oxygen becomes the problem.
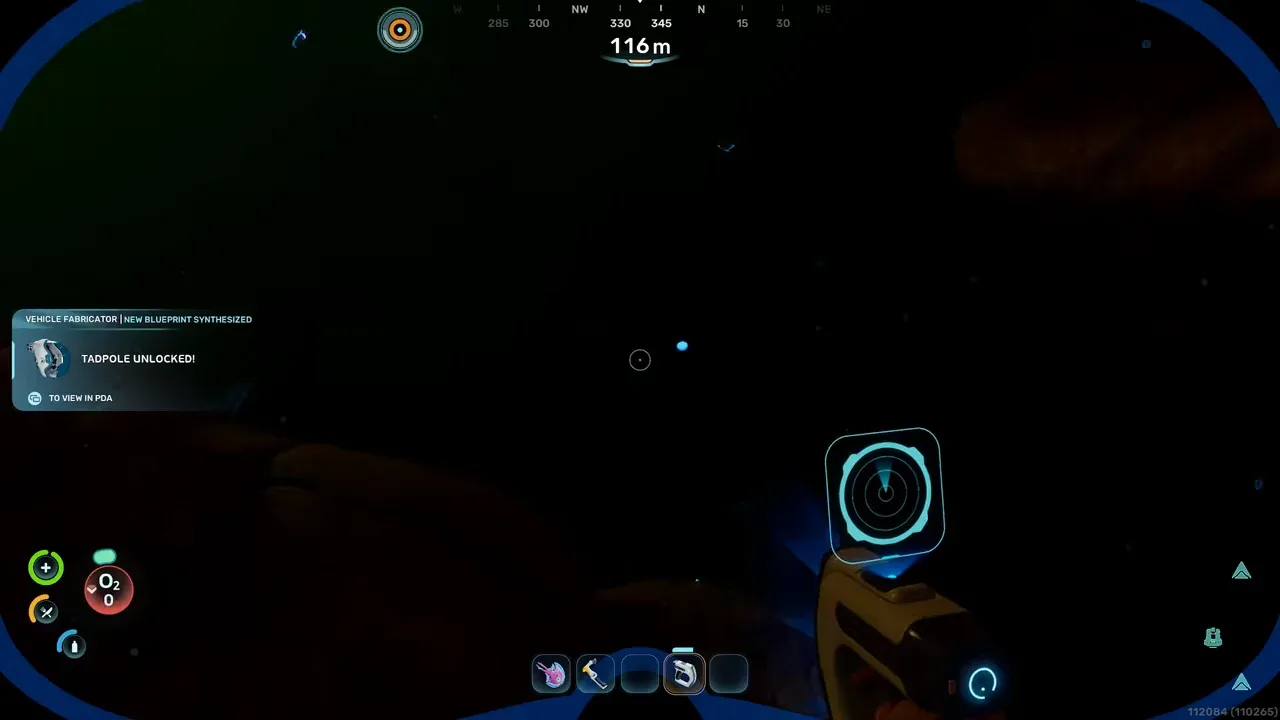
When the first Tadpole fragment is scanned, the game starts unlocking other vehicle-related pieces. Do not leave the route assuming one scan is enough; the video states you need three Tadpole fragments.
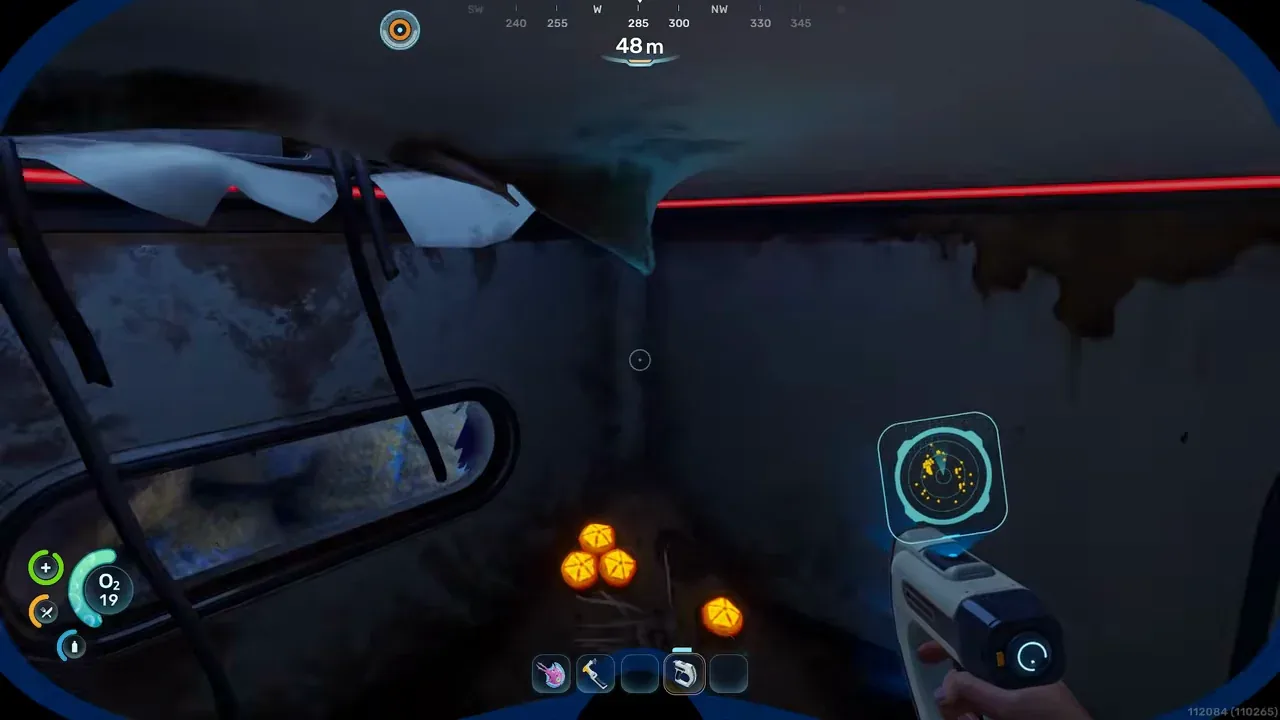
Fragment 2: move to the cliff-side wreck, around 200 meters out
After the first scan, swim toward the nearby wreckage cluster rather than returning all the way to base. The second route point is another piece of wreckage hanging off a cliff. In the video, the dive point is about 200 meters from the Lifepod.
The second route marker is a cliff-side wreckage piece. Use the Lifepod distance marker to confirm you are near the 200-meter point.
Dive down from the hanging wreckage. The video notes there is an oxygen source down there, which matters if you are trying this with starter oxygen. Enter the structure, scan the Tadpole fragment inside, and scan useful nearby objects such as Power Storage if you have time.
After this scan, the video shows the Moonpool unlock. That is progress, but it is not the end of the vehicle chain.
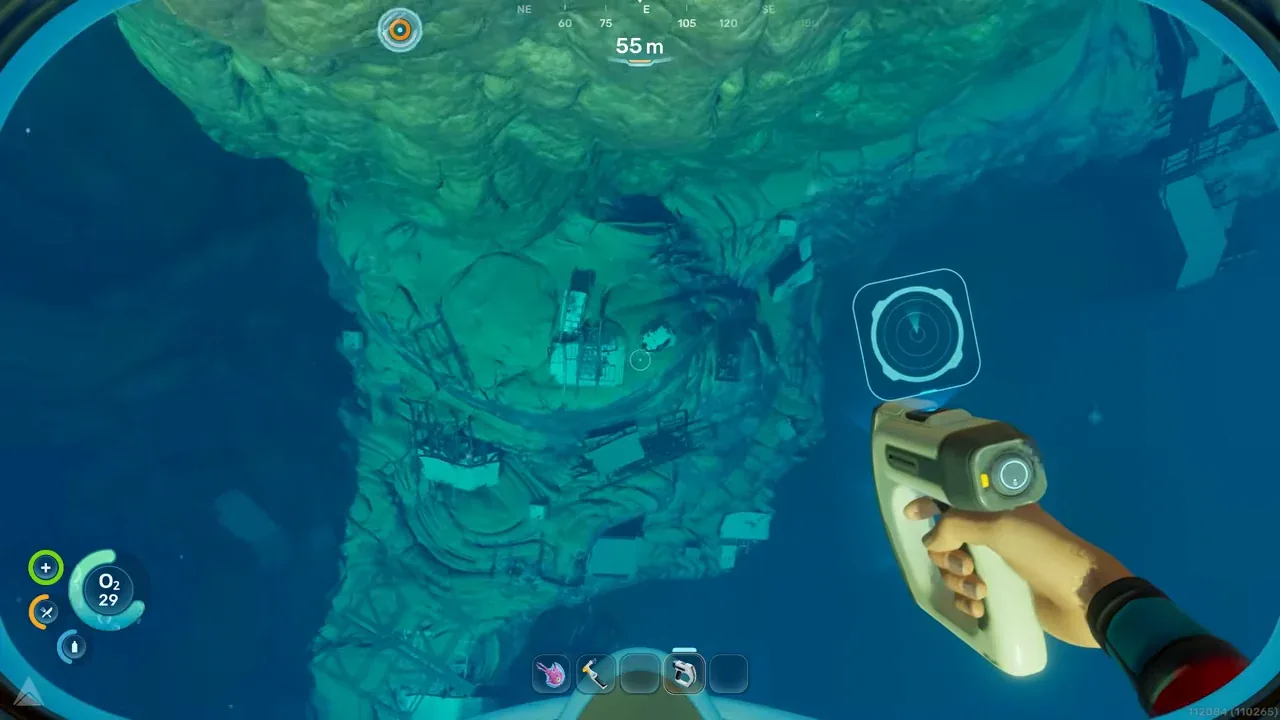
Fragment 3: the deeper giant-clam fragment
The third scan is the hardest one in the video route. From the second area, head out past the wreckage toward the glowing giant clam. The fragment is below the clam, not on the upper approach.
There is an oxygen bubble near the clam in the video. Use it before diving if your tank is still small. This is also the point where doing the route at night becomes a real problem, because the video has to revisit the spot in daylight to make the landmark clearer.
The third fragment is below the glowing giant clam. It is deeper than the first two, so reset oxygen before committing.
Swim below the clam, scan the Tadpole fragment, then leave. Do not turn this into a full resource dive unless you have enough oxygen and storage to do it safely.
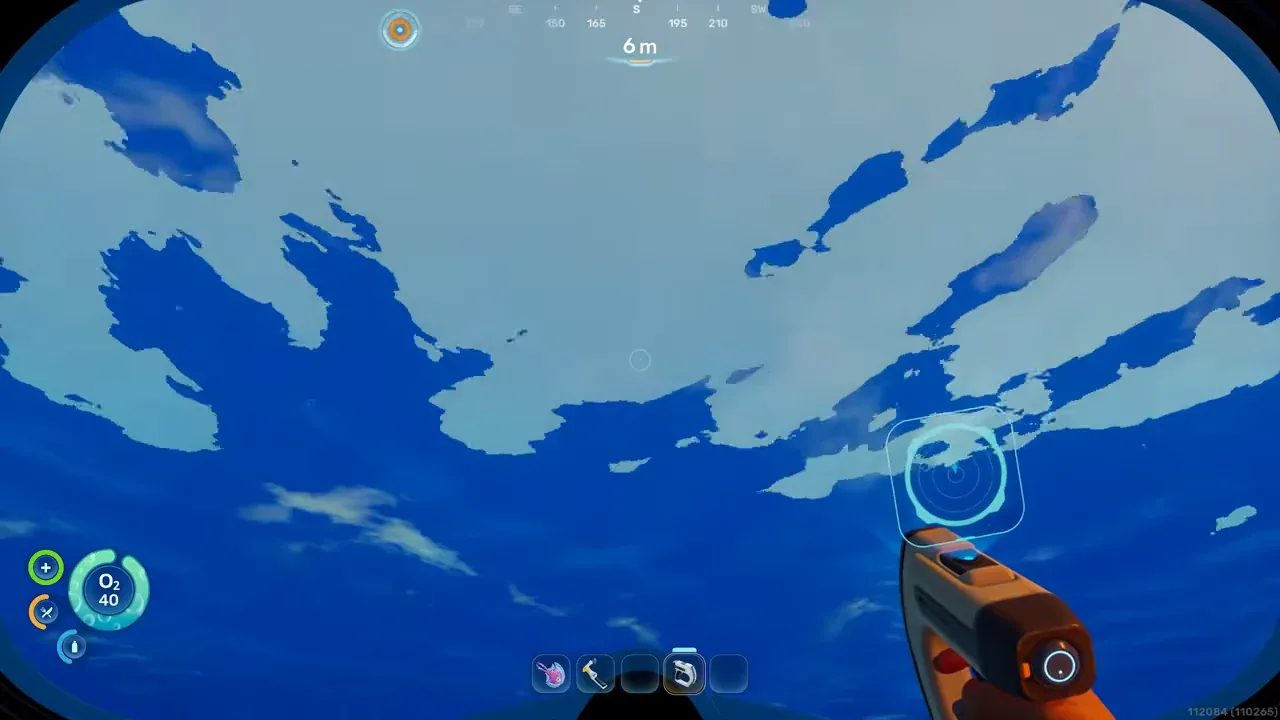
Backup fragment: northwest and shallower
If the giant-clam fragment is too risky, the video shows an extra Tadpole piece as a fallback. From the clam-side section, go northwest. The creator calls this one easier because it does not require going as deep.
Use the northwest backup fragment if the giant-clam dive keeps costing too much oxygen.
The important rule is simple: scan three Tadpole fragments total. If the backup is safer in your run, use it instead of forcing the deepest scan.
After the fragments: scan the Room and Processor
After the fragments, go north from the Lifepod toward the old habitat route shown in the video. This is no longer a Tadpole-fragment step, but it is required before you can finish the build chain.
Inside the old habitat area, scan the Room and the Processor. The Room scan is easy to miss because it sits in a corner after you enter the structure and climb up. The Processor scan is also inside the old habitat route, near a ladder.
The Processor matters because several Tadpole sub-recipes depend on processed materials.
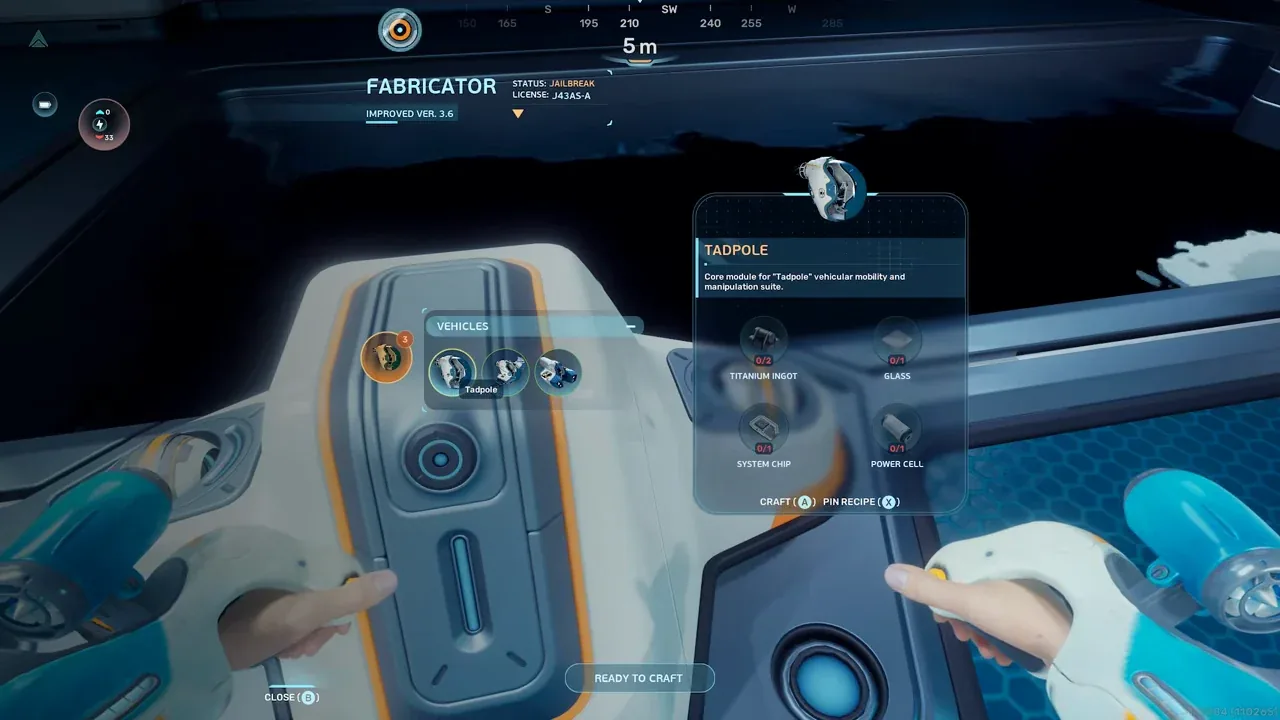
Build the vehicle setup
Once the scans are unlocked, build a Room and attach the Moonpool. The video then places the Tadpole Dock and Vehicle Fabricator before crafting the vehicle.
Current exported recipe data shows these relevant costs:
- Vehicle Fabricator: 2 Titanium Ingots, 1 Copper Ingot, 2 Glass
- Tadpole Dock: 2 Titanium Ingots, 1 Silver Ingot, 2 Copper Wire
- Tadpole: 2 Titanium Ingots, 1 Glass, 1 System Chip, 1 Power Cell
For the Power Cell, current exported recipe data shows 2 Basic Batteries, 1 Strong Acid, and 1 Salt. For the System Chip, it shows 1 Wiring Kit and 2 Quartz. The bottleneck chain is usually Silver for the Wiring Kit, Necrolei Cysts for Strong Acid, and enough Titanium for the ingots.
The Power Cell is the main sub-recipe: two Basic Batteries, Strong Acid, and Salt.
Build order checklist
- Craft or carry a Scanner.
- From the Lifepod, swim south to the first wreckage dive point, about 107 meters from the Lifepod marker.
- Follow the wreckage straight down and scan fragment 1.
- Move to the cliff-side wreckage area around 200 meters from the Lifepod.
- Dive into the structure, use the oxygen source if needed, and scan fragment 2.
- Swim toward the glowing giant clam, use the nearby oxygen bubble, and scan the deeper fragment below it.
- If the clam dive is too punishing, use the northwest backup fragment instead.
- After three fragments, scan the Room and Processor at the old habitat.
- Build the Room, Moonpool, Tadpole Dock, Processor, and Vehicle Fabricator.
- Craft the Tadpole from the Vehicle Fabricator.
Source video
This guide is based on Rifle Gaming’s 2026-05-15 Tadpole video and current exported recipe data. The video is useful for visual route recognition, but exact locations should still be verified in your live build.