Quick answer
- The route works because it fixes survival first, then turns scans and resources into a Scanner Station, Processor, Sonic Resonator, Tadpole, and Scout Ray Chassis chain.
- The best practical order is Digestion Adaptation, early silver, fins, oxygen tank, scanner, spare battery, Dash, Habitat Builder, Room, Scanner Station, Processor, Sonic Resonator, Tadpole, then Scout Ray Chassis.
- Exact locations come from community launch footage, so recheck fragment placement, objective gates, and recipe costs after Early Access patches.
Why this works
This is a strong opening route because it does not chase the Tadpole first. It makes the first hour safer, then uses that safety to unlock the base tools that make the vehicle chain less messy.
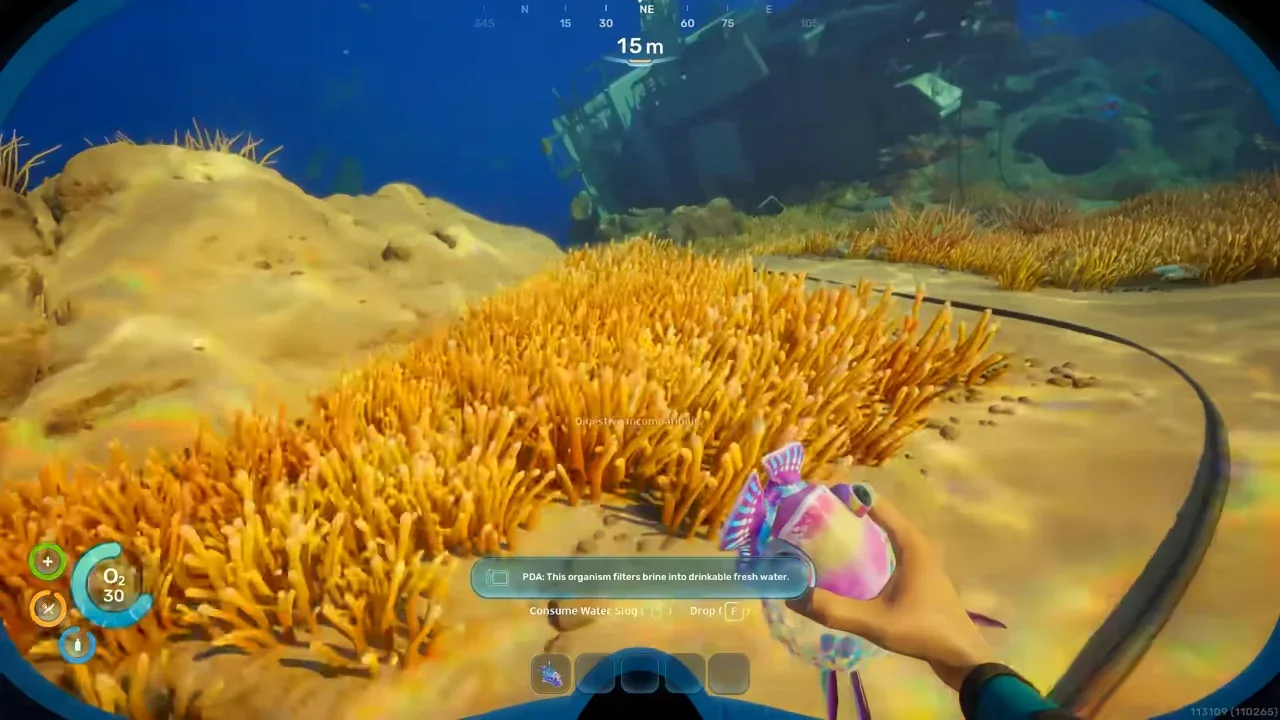
The route opens with Digestion Adaptation so food and hydration management are less fragile during longer swims.
The useful pattern is survival into search into mobility. Start with Digestion Adaptation and nearby silver, then craft the Survival Multi-Tool, fins, oxygen tank, scanner, and an extra battery. After that, use the first bunker route for Dash, Oxygen Control, furniture scans, and Habitat Builder progress.
Early silver supports the electronics chain instead of being treated as a random resource stop.
The middle of the route is where it becomes useful as a showcase, not just a speed path. It gets the Room and Scanner Station online before the full Tadpole push. That means later material runs can be pinned from your own base instead of handled as memory tests.

The Scanner Station is the pivot: it makes quartz, lead, salt, and other follow-up searches easier to repeat.
The optimized opening route
Use this as a priority route, not a stopwatch route. If your oxygen is low, your inventory is full, or a hostile creature is camping the path, bank the resources and come back. The optimization is about compounding upgrades: each loop should make the next loop safer or faster.
Phase 1: stabilize survival before chasing blueprints
Your first goal is to reduce food, water, and oxygen pressure. Leave the Lifepod, follow the nearby cable route shown in the source video, and pick up Digestion Adaptation first. That upgrade matters because it makes local food and hydration management less punishing while you are still swimming slowly and carrying a small oxygen tank.
After the adaptation, use the nearby west-side cave route for early silver. Do not overstay the cave. The useful first pass is to grab visible silver, use the oxygen plant or air pocket, then return with enough health and oxygen margin. If acid plants hit you, the video shows a medkit in the same area, but do not build the route around taking damage on purpose.
On the return trip, gather the boring materials that make the route work:
- Titanium or salvage metal for starter construction.
- Fibrous pulp so the Survival Multi-Tool can feed into early crafting.
- Copper for batteries and wiring.
- Rod sacks or other nearby survival materials if you are already passing them.
- Quartz from coral-shell interiors so the scanner does not stall.
Back at the Lifepod, craft the Survival Multi-Tool, basic fins, oxygen tank, scanner, and one spare battery if you have the materials. The fins and oxygen tank are the real safety upgrade here. The scanner is what turns the next half hour from sightseeing into unlock progress.
Phase 2: use the first bunker for biomods and base unlocks
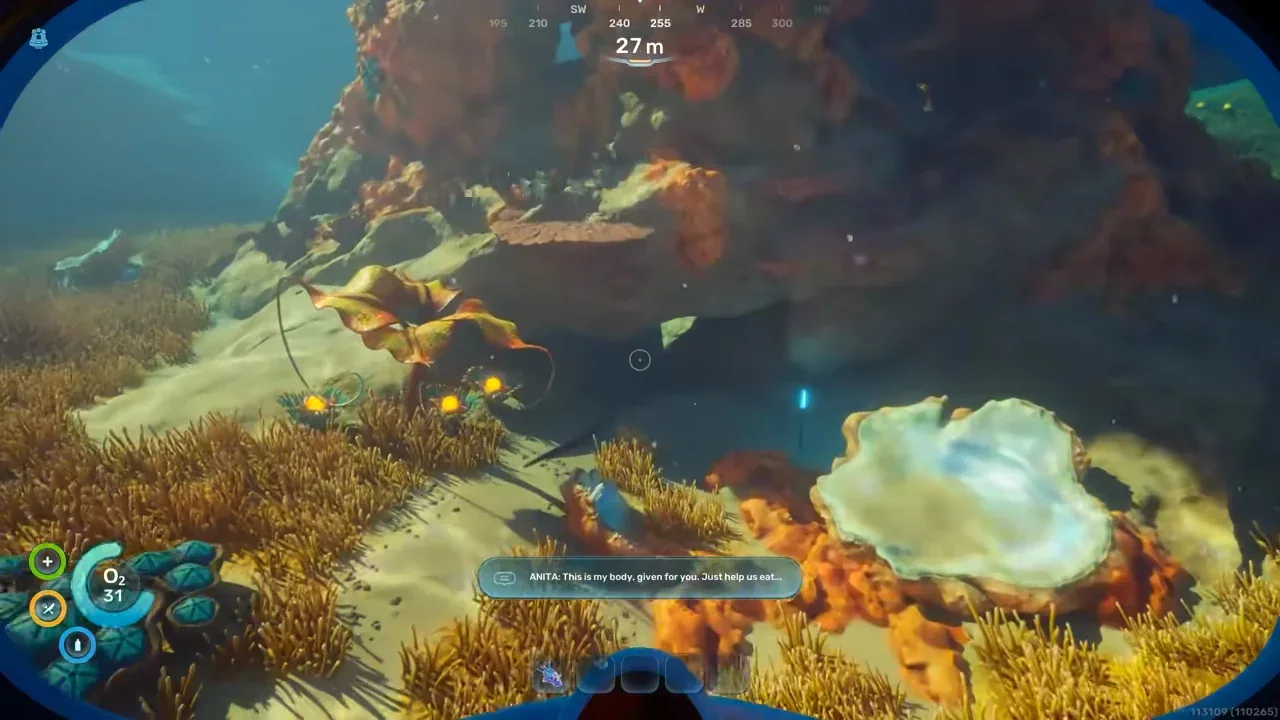
Next, follow Noah’s early objective flow toward the submerged bunker. Bring the spare battery because the route shown in the video powers the bunker before interacting with the computer inside.
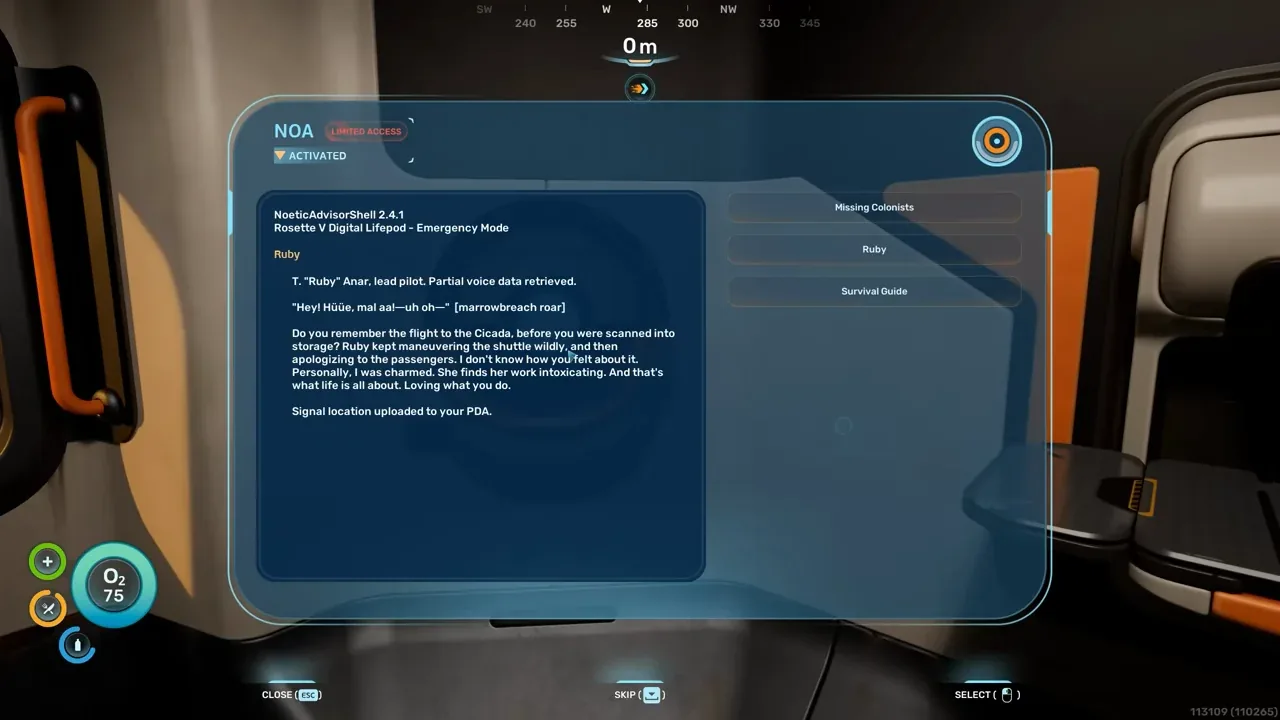
Inside, scan more than the obvious story objects. Furniture and devices are not just decoration in this route. They unlock things you will want in your own base later. After the dialogue, use the Biolab to pick early biomods. The showcased route recommends Dash as the active biomod because movement speed and dodging help before the Tadpole exists. It pairs that with Oxygen Control as a passive pick, useful when scanning or pausing to read a room.
Before leaving the bunker area, get Habitat Builder progress. The source route grabs one Habitat Builder scan inside the bunker path, then gets the second near the earlier Digestion Adaptation platform after returning with the scanner. This is a good optimization because it keeps base building tied to the route you already swam instead of sending you on a separate hunt.
If Noah gives you the Chap objective, follow it for the next bunker and interact with the Biobed. The main payoff is extra inventory space in the showcased route. That sounds small, but it makes every later material loop less wasteful because you can carry more titanium, quartz, copper, and scan-route pickups before returning.
Phase 3: build a real base loop before the Tadpole push
Do not rush the vehicle while your base chain is still missing. The Lifepod fabricator can feel limited after the first set of unlocks, so the route pivots into a small base with the pieces needed to craft advanced intermediates.
From the earlier Digestion Adaptation area, the source route heads north toward Campsite 1. Flood the facility as shown in the video, swim through the lower route, and scan the key base pieces. The important unlocks are the Room and Scanner Station. The Wakemaker fragment nearby is a useful bonus, but the base pieces are the main reason to go there.
Once you have the Room, build a simple starter base. Keep it functional:
- One room or compact layout.
- An entrance.
- A Fabricator so advanced recipes are available from your own base.
- A Scanner Station as soon as the silver and wiring chain allows it.
- Enough storage to separate vehicle materials from random pickups.
The Scanner Station changes the rest of the run. Instead of trying to memorize every resource cave, tune it to the immediate blocker: quartz, lead, salt, or another material you need for the next craft. In Subnautica 2, the video notes that you may need to interact with scanner bubbles to pin them to your HUD. Do that before swimming away, otherwise the station has not actually turned into a route marker.
Phase 4: take optional speed, then unlock the Processor
If you want the route to feel faster before the Tadpole, scan Wakemaker fragments. The showcased path finds fragments close to the starting Lifepod route: one in the jet-stream cave, one near the food-upgrade platform route, and one near the silver cave cable route. Wakemaker is not mandatory, but it helps because it gives a speed bump and a built-in light, which can free up a handheld slot.
After that, prioritize the Processor. The Processor unlock is more important than it looks because it supports ingots and advanced material chains. The source route follows the Quaker objective north from the Lifepod, enters the old facility, and scans both the Sonic Resonator progress and the Processor. While inside, scan battery recharge stations and other useful base pieces if they appear. Those small scans save return trips later.
Back at base, build the Processor. Use it to start making titanium and copper ingots as needed. This is the point where random collection becomes a planned build chain.
Phase 5: get the Sonic Resonator before larger deposits
The Sonic Resonator is the first tool in this route that changes what resources are practical to farm. The video gets one scan in the northern facility and another near the earlier silver/food-upgrade area, inside a nearby northwest cave. A later infestation site can also provide a fallback scan if you missed one.
Craft it before you commit to the Tadpole material grind. It helps against enemies, but the bigger optimization is that it opens larger deposits. The source route uses the Scanner Station to find lead after the Sonic Resonator scan, then crafts the tool back at base.
Once you have it, clear the early infestation route if your objective flow has reached that point. The showcased route uses the Sonic Resonator on spore infestations around the Dying Crab area, then claims the Heat Resistance adaptation. This matters because the later Scout Ray Chassis route moves toward a volcanic region.
Phase 6: unlock and build the Tadpole
Now the route finally turns into a vehicle plan. By this point you should have a scanner, better oxygen, Dash, a starter base, Processor access, and the Sonic Resonator. That is why the Tadpole push is much safer than trying to force it immediately.
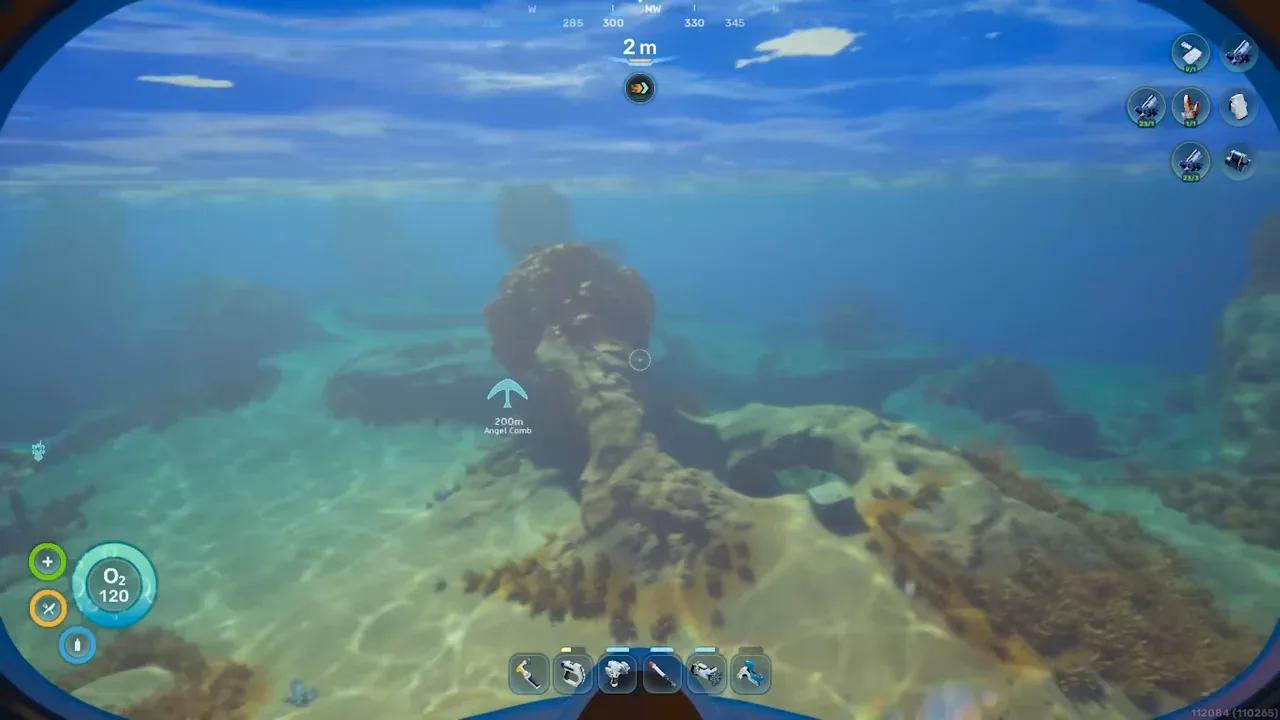
The video route uses three Tadpole scans:
- A northwest wreckage route from the Lifepod for the first Tadpole fragment.
- A second Tadpole fragment inside the larger wreckage, entered from below.
- A third fragment south of the starting area near a downward edge.
The route becomes a vehicle plan once the Tadpole fragments are reachable, but the earlier base unlocks still matter.
After the scans, separate the base infrastructure from the vehicle craft. You need the Moonpool and vehicle setup before the Tadpole itself. In the current exported recipe data checked for the Tadpole guide, the Tadpole recipe includes Titanium Ingots, Glass, a System Chip, and a Power Cell, while the supporting base pieces have their own costs. Do not spend your last silver or quartz casually if you still need the System Chip and Glass chain.
For the Power Cell side of the route, the video points to Necrolei Cysts for Strong Acid and salt from a southeast route where larger deposits make the Sonic Resonator useful. Use the Scanner Station whenever possible. The optimized version is not “swim until you see it”; it is “pin the blocker, collect enough, return, craft, then leave again.”
Phase 7: add Scout Ray Chassis only after the Tadpole is stable
The Scout Ray Chassis is the showcase upgrade, not the minimum viable vehicle. Once the Tadpole is built and you have heat-resistance prep, follow the Tadpole Pens or volcanic-region route shown in the video. The scan target is a damaged Tadpole with intact wings behind the facility path.
The Scout Ray Chassis is the optional upgrade target after the Tadpole and heat-resistance prep are in place.
If you want to finish the upgrade chain, lithium becomes the next notable blocker. The video points toward the giant clam area and recommends farming from outside the dangerous contact zone with the Sonic Resonator. Use that as a high-risk lead: bank your vehicle, keep distance from the clam’s tendons or contact points, and leave once you have enough material.
What to copy
- The route order matters more than the exact swim path.
- Every loop should return with either a survival upgrade, a scan unlock, or a material needed by the next craft.
- Build the Scanner Station before the late material grind. It saves more time than another blind resource loop.
- Use Wakemaker and Scout Ray Chassis as accelerators. The Tadpole and Sonic Resonator are the more important progress gates.
- Keep vehicle setup materials separate from Tadpole recipe materials so you do not craft the vehicle parts and then discover the Moonpool or Vehicle Fabricator is still missing.
- Stop and bank resources after each major unlock. A perfect route that loses a full inventory is not optimized.
What to verify
- The exact fragment and bunker paths are from KhrazeGaming’s launch footage, not hands-on verification in this repo.
- Recipe costs and item names should be checked after major patches, especially for Tadpole modules, Vehicle Fabricator setup, Processor outputs, and Strong Acid.
- Objective names and gating can change. If Noah does not surface the same objective yet, use the video route as a location lead and check whether your save has unlocked the right step.
- The lithium run near the giant clam is risky. The video recommends using the Sonic Resonator from outside the dangerous contact area, but you should verify current-build collision and damage behavior before farming there.
- This route contains light spoilers for early bunkers, biomods, Tadpole fragments, and the volcanic Scout Ray Chassis area.
Source video
This showcase is based on KhrazeGaming’s 2026-05-15 best-start video. Use the embedded video for visual route recognition, then use the checklist above to keep the route from becoming a 23-minute memory exercise.