Quick answer
- Start at the early lifepod and check two nearby routes: roughly 200 meters north for jagged cracks, then roughly 200 meters south for cliff-edge deposits.
- Pick up single silver nodes directly. Larger deposits may require the Sonic Resonator before you can crack them open.
- After you can spend two silver on a Scanner Station, use it to mark nearby silver deposits on your HUD.
Silver resource map
Current exported Silver markers are shown on the orthographic map preview. Use the full map link for exact filtering, then verify the route in your current build.
Silver is one of the first materials that can make Subnautica 2 feel gated. You may already have basic survival handled, but higher-tier electronics and base tools start asking for silver before you have a reliable route for it.
This guide rewrites IGN’s early silver route into a checklist you can follow from your starter area. The route is intentionally light on wider map spoilers: it focuses on what to look for near the early lifepod, how to recognize silver deposits, and when the Scanner Station becomes the better long-term answer.
Before you leave the lifepod
Use the early lifepod as your origin point. The video route highlights two starter-area searches: one roughly 200 meters north and another roughly 200 meters south. Use those distances as swim ranges rather than exact coordinates, because your angle from the pod and depth changes can make the final approach feel different.
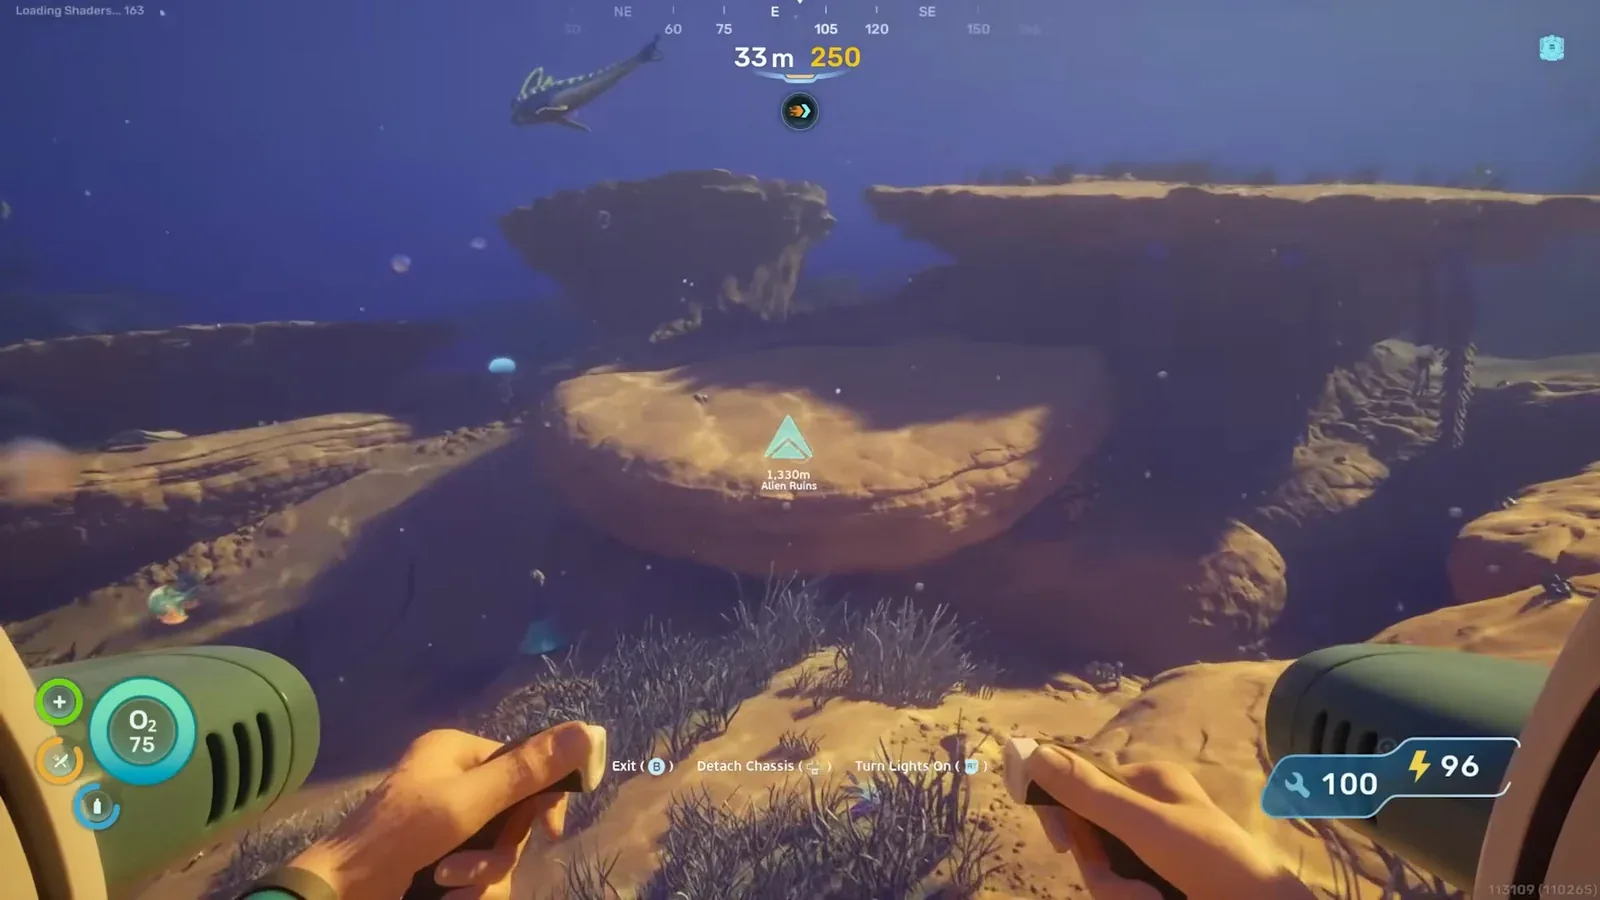
Use the early lifepod as your route origin before checking the nearby north and south silver spots.
Bring enough oxygen margin to turn back safely. If you are still moving with early-game oxygen limits, do not chase every sparkle in the terrain. Swim out, identify the landmark, collect what is easy, and return before the route becomes a rescue run.
Route 1: swim north to the jagged cracks
The first route is north of the lifepod, around 200 meters away. The important landmark is a set of deep, uneven cracks in the seafloor. Look for rough, jagged edges rather than a smooth cliff wall.
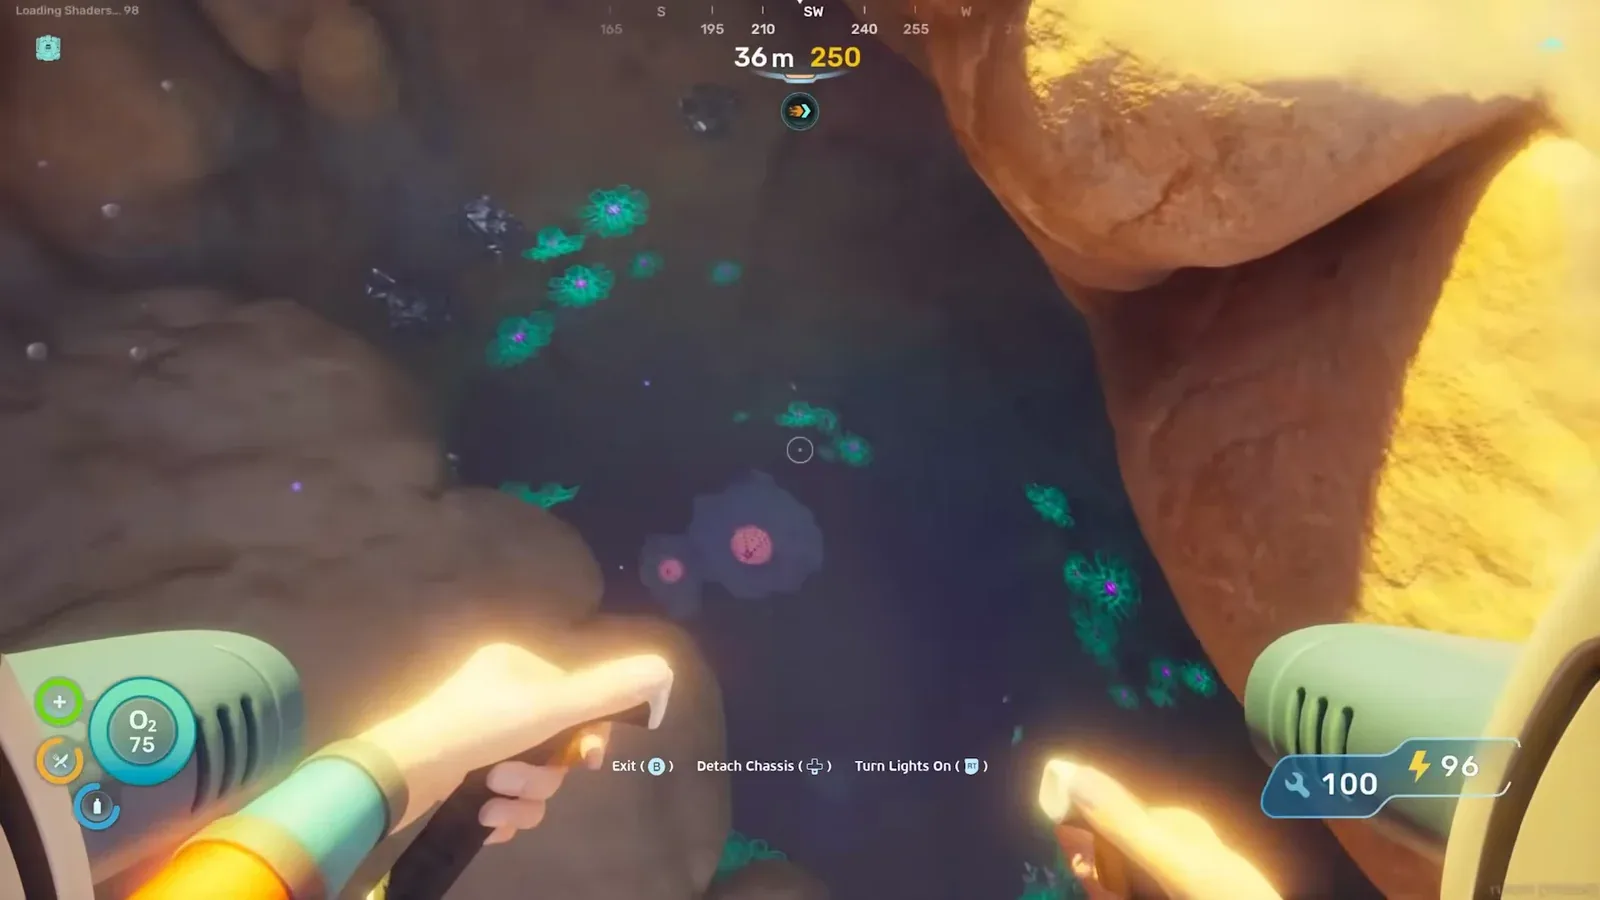
The north route is identified by deep, jagged cracks in the seafloor about 200 meters from the lifepod.
Once you are in the crack area, check the walls and shelves for silver. The video shows single silver nodes that can be collected directly, plus larger chunks that can give multiple pieces when broken.
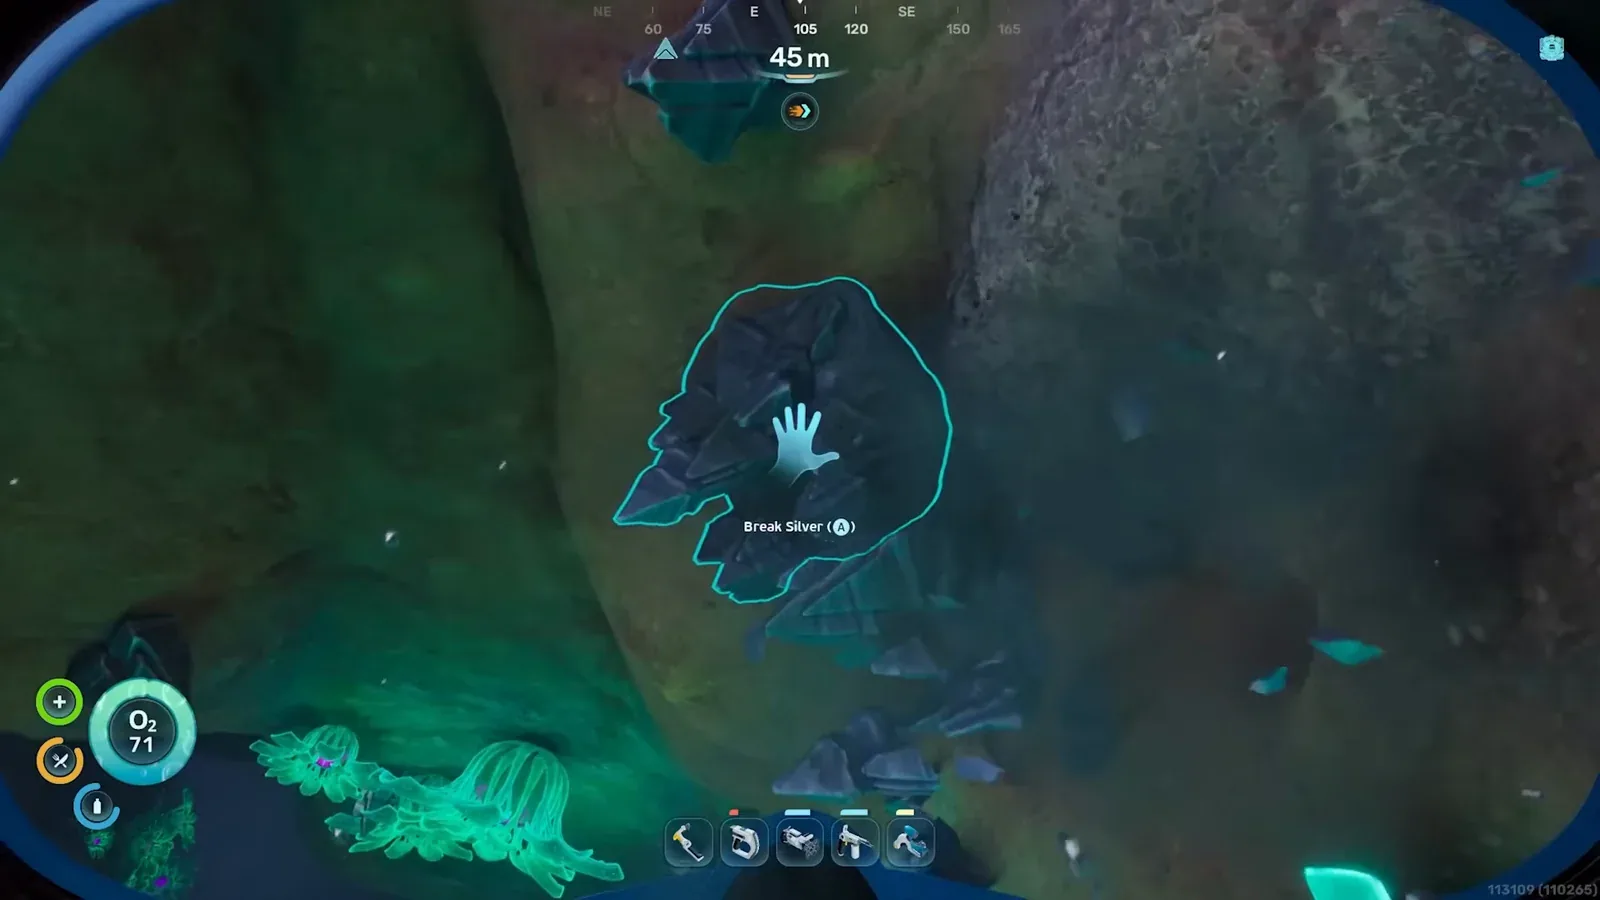
Single silver nodes can be picked up directly, while larger chunks may need to be broken.
For your first run, prioritize the direct pickups. They are the least complicated way to get the first few pieces of silver without needing a more advanced tool chain.
Route 2: swim south to the cliff-edge deposits
The second route is directly south of the starting lifepod, also about 200 meters away. Here, the video points to deposits along a cliff edge, where several material types can appear together.
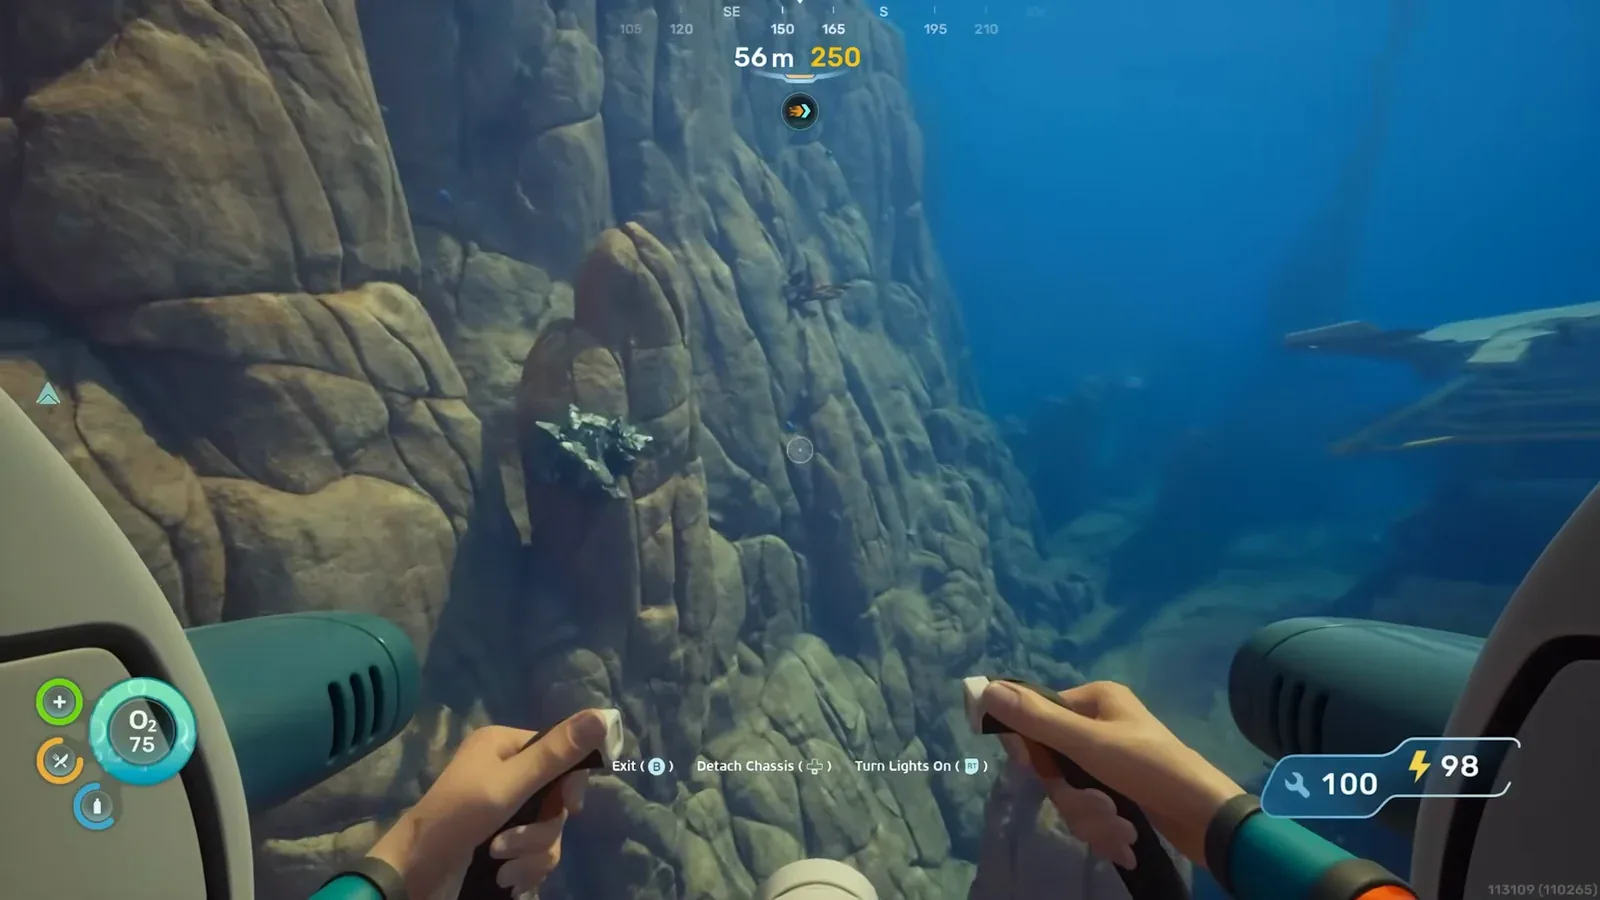
The south route has cliff-edge deposits, but some of the larger deposits are gated by the Sonic Resonator.
The catch is that some larger deposits are not useful immediately. IGN notes that you need the Sonic Resonator before you can crack certain deposits open. That makes the south route a good place to remember for later, especially if you build near the starting zone, but it may not solve your very first silver shortage by itself.
Build a Scanner Station once you can afford it
After you have enough silver to get past the first bottleneck, the repeatable method is the Scanner Station. Build one near your base, choose silver deposits, and use the scanner result to place a HUD marker that leads you to the next deposit.
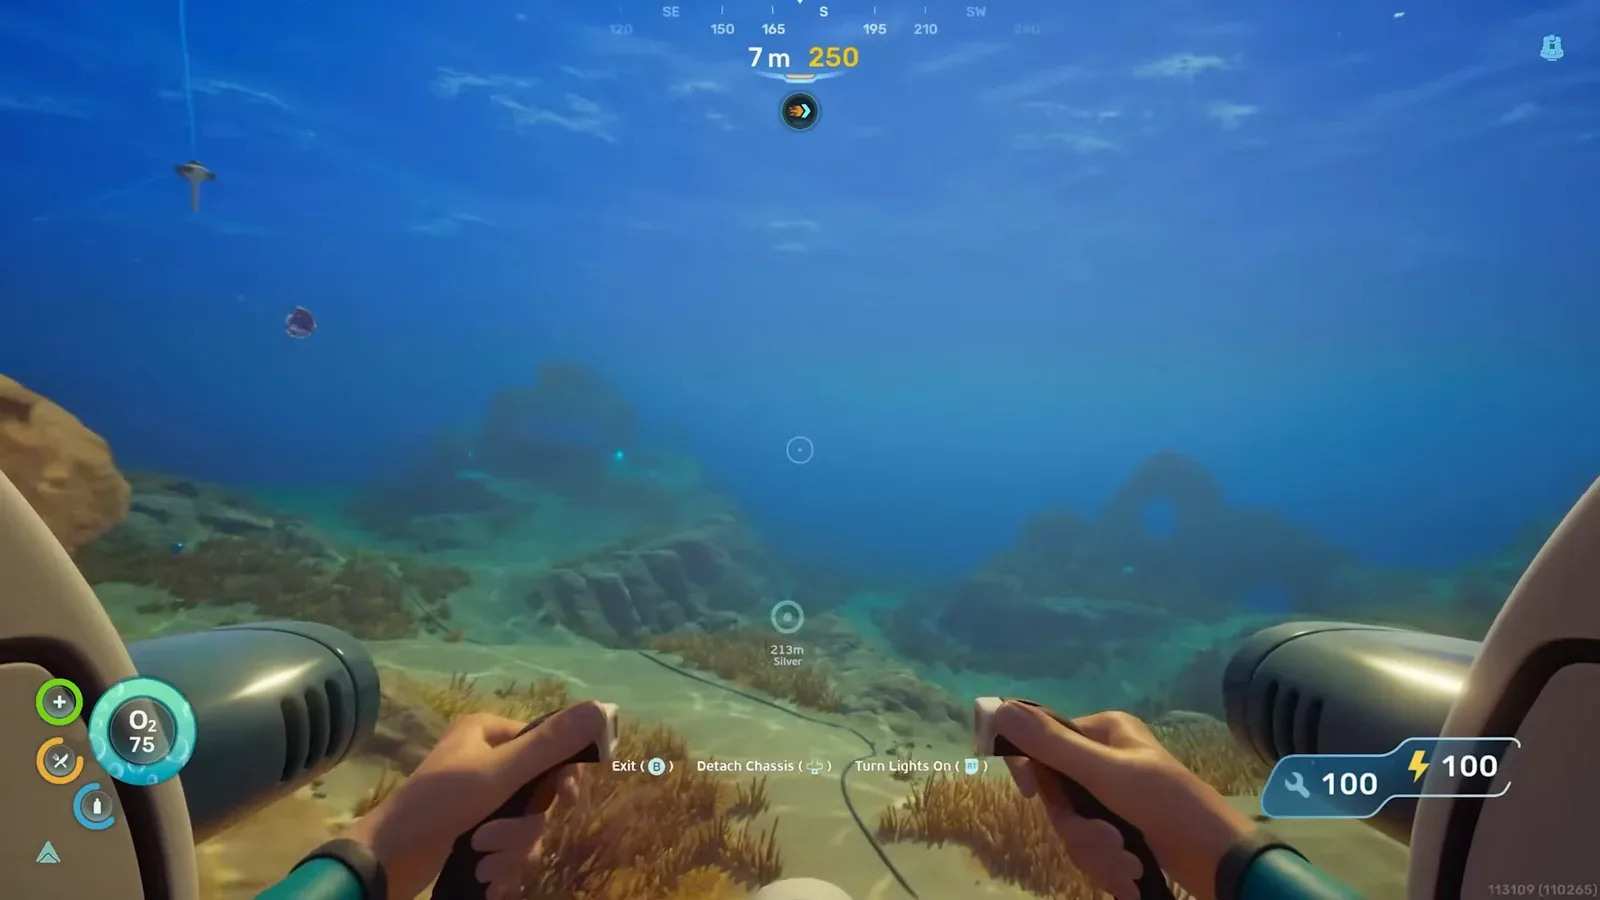
After you can build a Scanner Station, select silver and follow the HUD marker to the deposit.
There is an obvious limitation: the Scanner Station itself requires two silver ore, along with copper and quartz. That means it is not your first solution. Use the lifepod routes to collect the first pieces, then spend silver on the Scanner Station when you want future searches to be faster and less random.
The video also notes that you should have the relevant electronics chain unlocked, including copper wires, wiring kits, and system chips. If your crafting menu does not support those yet, keep the Scanner Station plan in mind and focus on direct silver pickups first.
Early silver checklist
- Start from the early lifepod.
- Swim north roughly 200 meters and look for jagged seafloor cracks.
- Collect direct silver nodes first.
- Check the southern cliff-edge area, but remember that some larger deposits may need the Sonic Resonator.
- Use your first silver pieces carefully instead of spending them on random crafts.
- Build a Scanner Station once you can afford the two-silver cost and want repeatable silver tracking.
- Recheck routes after patches, because Subnautica 2 is still in Early Access.
Source video
The route and screenshots in this guide are based on IGN’s video, embedded below for reference.